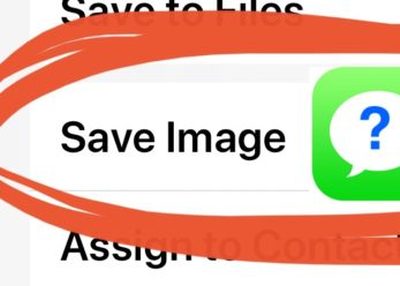
Wondering how to save photos, pictures, and videos from Messages in iOS 13 and iPadOS 13? If you’re perplexed you may not be alone, as some users have discovered the changes to the photo and video saving mechanism in Messages app to be more confusing than before, leading some people to think the ability to save photos and movies from messages is no longer an option.

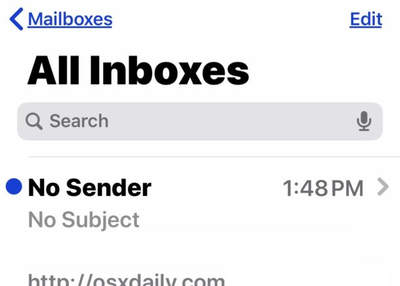
If you launched Mail app on iPhone or iPad after updating to iOS 13 or iPadOS 13 and now discovered new emails are showing up as “No Sender” and with “No Subject”, then you’re certainly not alone.

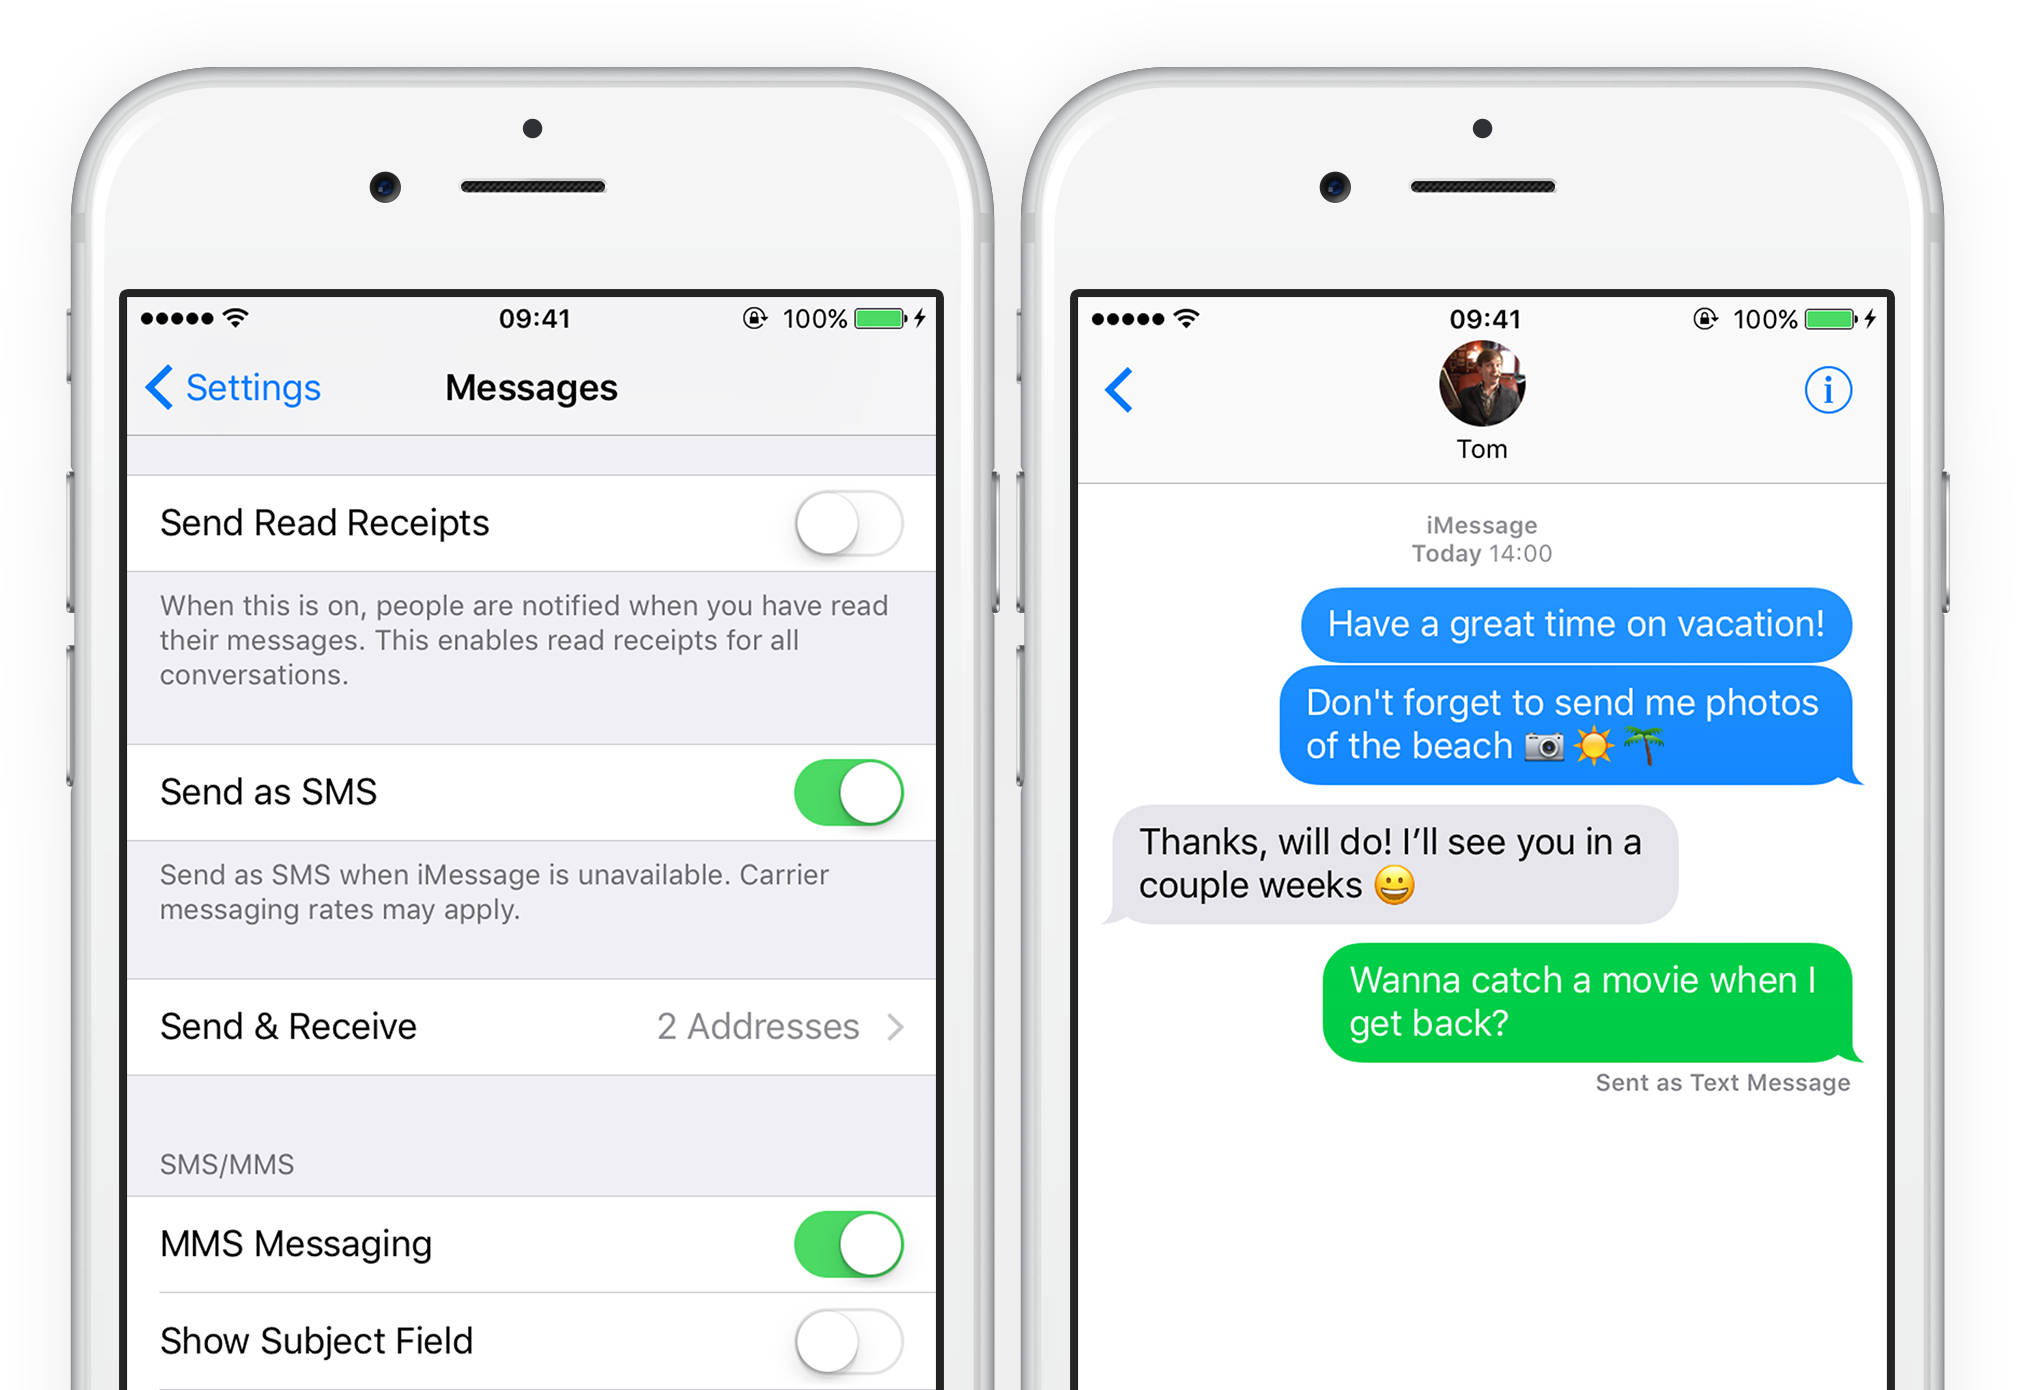
Apple’s latest software, iOS 13, is already available and already had lighten the faces of Apple lovers with lots of amazing features and updates.
And now it is not so far that Apple is going to release its new big update iOS 13.1 & iPadOS today.
Now you will be able to revitalize your iPad with the launch of Apple’s new iPad Software created exclusively for its tablets.
The two iOS 13.1 & iPadOS were initially booked to be released on Sept. 30, yet Apple unexpectedly climbed the launch by just about seven days.
Users will likewise have the option to add Siri shortcuts ways to automation and set up triggers to empower any shortcuts naturally.
This element will enable users to carry their own devices to work and ensure the business data alongside with upholding user’s privacy.
Downgrading from a higher version like iPadOS 13 or iOS 13, 13.1, 13.1.1 and 13.1.2 to a lower one like iOS 12.4.1 on your iPad or iPhone is a delicate task and you have to be very careful as it is taken as the advanced procedure.
It is always recommended to take a full backup of all your data on the computer system so you can restore it after downgrading the Operating System of your smartphone. Here is how you can do it securely.

1. Taking Backup and Necessary Instructions
- You must have a Mac or Windows computer ready before performing downgrading operation on your smartphone.
- If you wish to remove the existing iPadOS or iOS 13 from any of your iOS devices, then you have to be comfortable with this method.
Note: Do not perform any failed or improper downgrading attempt for doing this because an improper attempt may leave you in overall data loss.
- It is also advised not to try to restore your iOS 13 or above-taken backups to iOS 12.4.1 gadgets.
- You can stay on the existing iPadOS 13 or iOS 13 in case you have taken a backup of iOS 13 device’s data. It will help avoid huge data losing.
In another way, you might lose all your data from your iOS devices after the completion of the process in case you haven’t taken a backup of your iOS 12.4.1 data.
2. Downgrading iPadOS 13 and iOS 13 to iOS 12.4.1
Follow these provided instructions in case you wish to downgrade your iOS 13 to 12.4.1:
- First of all, it is advised to take a proper backup of your iOS 12.4.1 data for restoring just after the downgrading process.
- Then, install your iOS 12.4.1 “IPSW” file that peered with your handheld device and then ensure that the IPSW file is easily accessible for searching.
- After that, open iTunes on your Mac or Windows PC, or you can launch “Finder” in the “MacOS” Catalina.
- Next, connect the system to your smartphone operating on iOS 13 through a USB cord.
- Then, locate the connected device hi hitting on the smartphone icon present on the menu bar of your iTunes. It is situated within the “Finder” in the case or Catalina and iTunes in the case of iOS devices.
- Now, navigate to the “Device” description panel of the “iTunes” (“Finder” in the case of Catalina) and then perform these steps:
- If you are using Mac:
- Press and hold down the tab “Option.”
- After that, tap on “Restore.”
- If you are using Windows:
- Press and hold down the “Shift” tab.
- Now, hit the “Restore.”
- Then, you have to choose the file “IPSW” of iOS 12.4.1 for your smartphone that you installed some time ago.
- Wait for a while to complete the overall procedure.
- Once your iOS device begins backing up, follow the usual setup process and its instructions.
- Then, select the appropriate backup and restore option from iTunes or iCloud.
Note: If you have the backup data available from iPadOS 13 or iOS 13 or above, then it is advised to stay on iPadOS 13/ iOS 13 or above.
In case you select the setup process of the device as fresh, then you might lose all your files and data from iOS devices.
You are not allowed to restore your data backup on iOS 12.4.1 in case you don’t have a data backup compatible with this version.
Note: The downgrading of iOS versions from a newer one will run smoothly on your system as it is signed digitally by Apple from time to time.
Rdx Tango is a creative person who has been writing blogs and articles about cyber security. He writes about the latest updates regarding avast.com/activation and how it can improve the work experience of users. His articles have been published in many popular e-magazines, blogs and websites.
Source:- https://caavast.com/blog/how-to-downgrade-ios-13-back-to-ios-12-4-1-using-itunes-or-finder/
iOS 13 Top 5 Features: Apple released its iOS 13 updates a week ago and only five days it has turned out with another form of the working framework which has plenty of novel highlights you can give it a shot.
iOS 13 Top 5 Features
1 iPadOS 13.1 is here
The tablet form of iOS accompanies a lot of performing various tasks highlights, just as an improved browsing knowledge in Safari.
If there should arise an occurrence of an unanticipated deferral during the movement, Apple Maps will naturally make an impression on the contact telling them you are running late.
3 Experience Karaoke machine using Apple Music
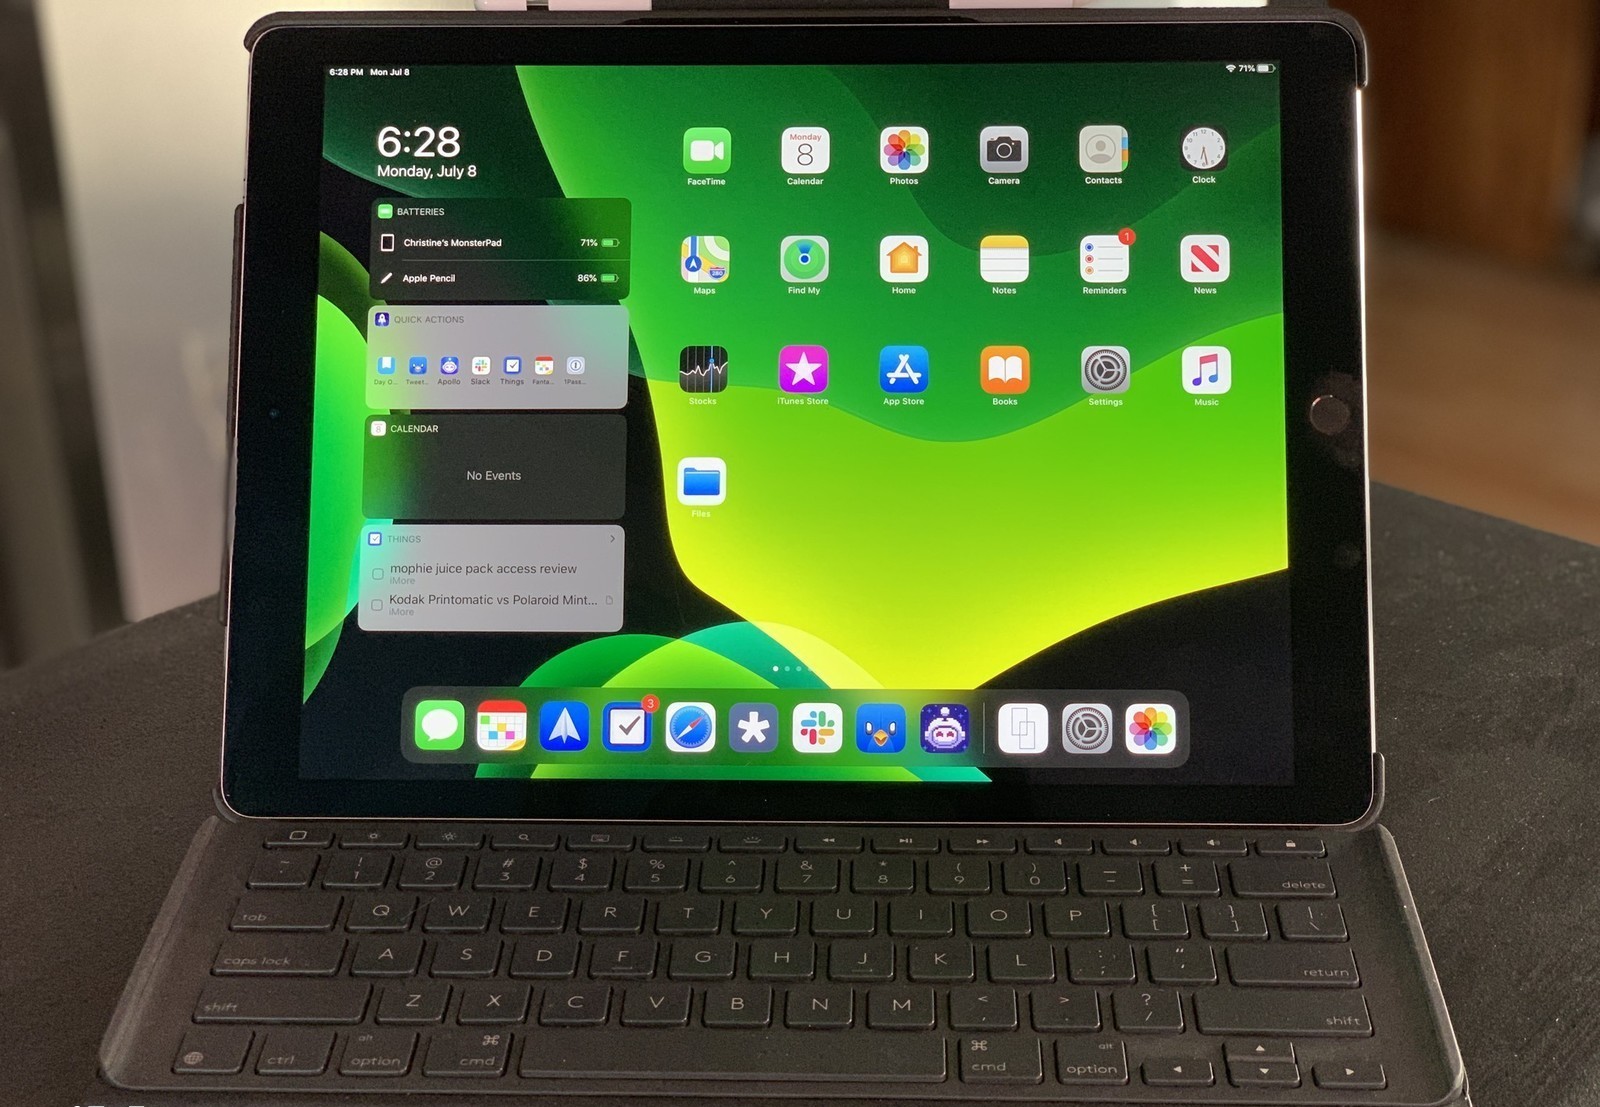
There is a new layout for your iPad’s home screen which has a widget feature.
You can add a particular widget so that it can be available on your Home Screen.
Here’s how to add widgets on your iPad in iPadOS 13.Steps to Add Widgets on Your iPad in iPadOS 13• Go to the first page of the Home screen on your iPad.• Slide to the right-hand side.• Additionally, pull down by going to the upper side of the display.• You need to take the steps as mentioned above to open the Notification menu.• Slide on the right-hand side to open the widgets.• Click on the Edit option.• You have to go down in case you have already added the widgets.• Click on the green plus option given on the widgets.• You have to do this procedure for adding the widgets to the “Favorite Widgets” folder.• Click on the red minus option.• This option helps you to remove them from favorites.• Click on the Done option.• After that, all the changes get saved.Steps for Keeping Widgets on Your Home Screen• Ensure that you are on the front page of the Home screen in the iPad.• Slide to the right-hand side to open the widgets menu.• Go down to the end of the widget menu list.• Wait until you get the Edit option.• Click on the Edit option.• Press on the switch to change it into an olive color.• You will get this switch in the Keep on Home Screen option.• Click on the Done option.Steps to Pin Your Favorite Widgets on the iPad Home Screen• You should be on the front page of the Home screen in the iPad.• Go to the right-hand side to open the widgets option.• Go down till you will get the Edit option.• Press on the Edit option.• Pull the handle above the selected widget which you wish to add into the Pinned Favorites column.• Click on the Done option.Steps for Accessing the Widgets from Your Home Screen• Check whether you are on the front page or not.• The front page should be of the iPad Home screen.• In case you are not on the front page, go down from the upper side to open the Notification Center.• Go to the right-hand side to open the Today View option.• Slide up to open the favorite widgets menu.Steps for Accessing the Widgets from Your Lock Screen• Click on the Power option.• You have to click it to open the screen.• Go to the right-hand side to open the favorite widget folder.Davis Johnson is a self-professed security expert; she has been making the people aware of the security threats.
Her passion is to write about Cybersecurity, cryptography, malware, social engineering, internet and new media.
She writes for Norton security products at norton.com/setup.Source: http://norton-us.com/how-to-add-widgets-on-your-ipad-in-ipados-13/
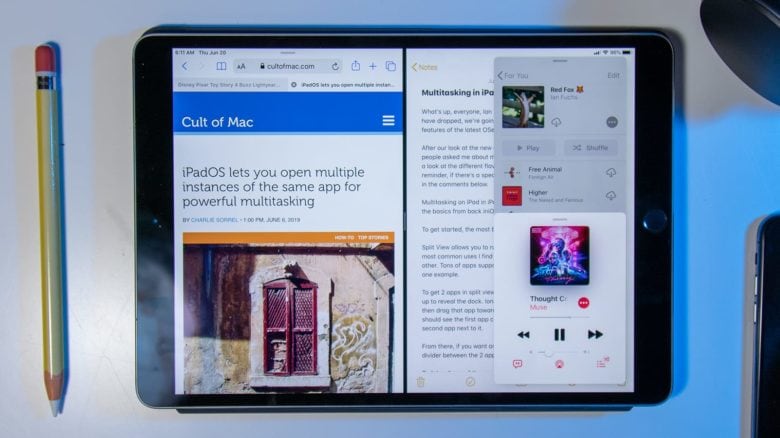
iPadOS 13 provides you many features like space availability for your apps so that your device can perform better than before, and it also enhances your viewing experience through App Spaces and Slide Over-View.
Let’s see the features and their functions point to point:The Split Screen feature allows you to work on two different applications side-by-side.You can work over two apps with one or two documents at a time on a single screen.You are permitted to view multiple pages of a single app on one screen, and on the next screen, you can view or access some other app in conjunction with it, and it gives you the multitasking experience.The Slide Over option enables you to see three or more pages of different apps on a single screen.
To provide you a much better feel, you can work on multiple pages of multiple applications using this App exposure feature.Adding the third app to Split Screen ViewTo add/join another application as the third one, you have to require switch to the Slide Over-view mode.
Follow these steps to know we can do this:First of all, open any apps which you desire to launch on your iPad.Now go to the Dock by sliding your finger in the upward direction.Then choose any of the app symbols from your Dock.
Hold it down and drag towards the left and right corners in order to launch Split Screen View function.Here you may adjust any adjusting ratio like 70-30 or 30-70 by dragging the handle to the middle of the screen.Navigate to the “Dock” again by sliding your finger upwards.Next, choose another application from your Dock.
Then drag it towards the Split Screen location.