


The given methods are proven and tested to solve your problem seamlessly. If you are facing any such issue with Epson Scan Not Working Windows 10, then you can follow these steps to fix that. For more information visit our website.

Therefore, we have explained detailed easy steps to fix this problem Call For Help- (1-888-570-1595).So first of all, we are going to list the reasons for the most common question of “Why is the Epson Printer not working anything correctly?” Queue service may stop due to bad connectionThe Epson printer is not properly connected to the computer or other device.Printer status is not set to “Default Printer”Due to an old or outdated printer driver, the Epson printer stops printing.A dusty print head can be the cause of this problem.The Epson printer may be offline, so the Epson printer may have a printing error.Problem with the printer firmware.Troubleshooting epson printer not working Epson is a popular brand that makes various printers, from Inkjet to LaserJet with different shapes, sizes, configurations, etc.
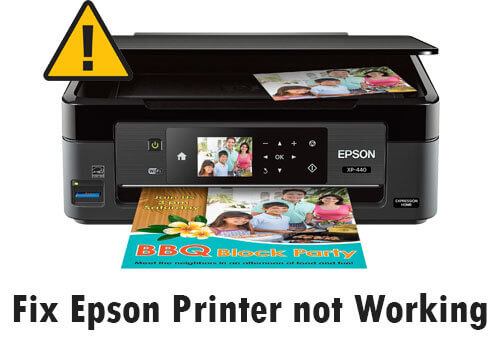
Epson printer has been the first choice of many people around the world due to its outstanding features and good performance during the printing process.Epson printer not working problemThe most common problem you may have is that your Epson printer is not working.
And the main reason behind this problem is that the nozzles are clogged.Solution: To fix this problem or make your Epson printer work well, clean the print head to clean the nozzles.
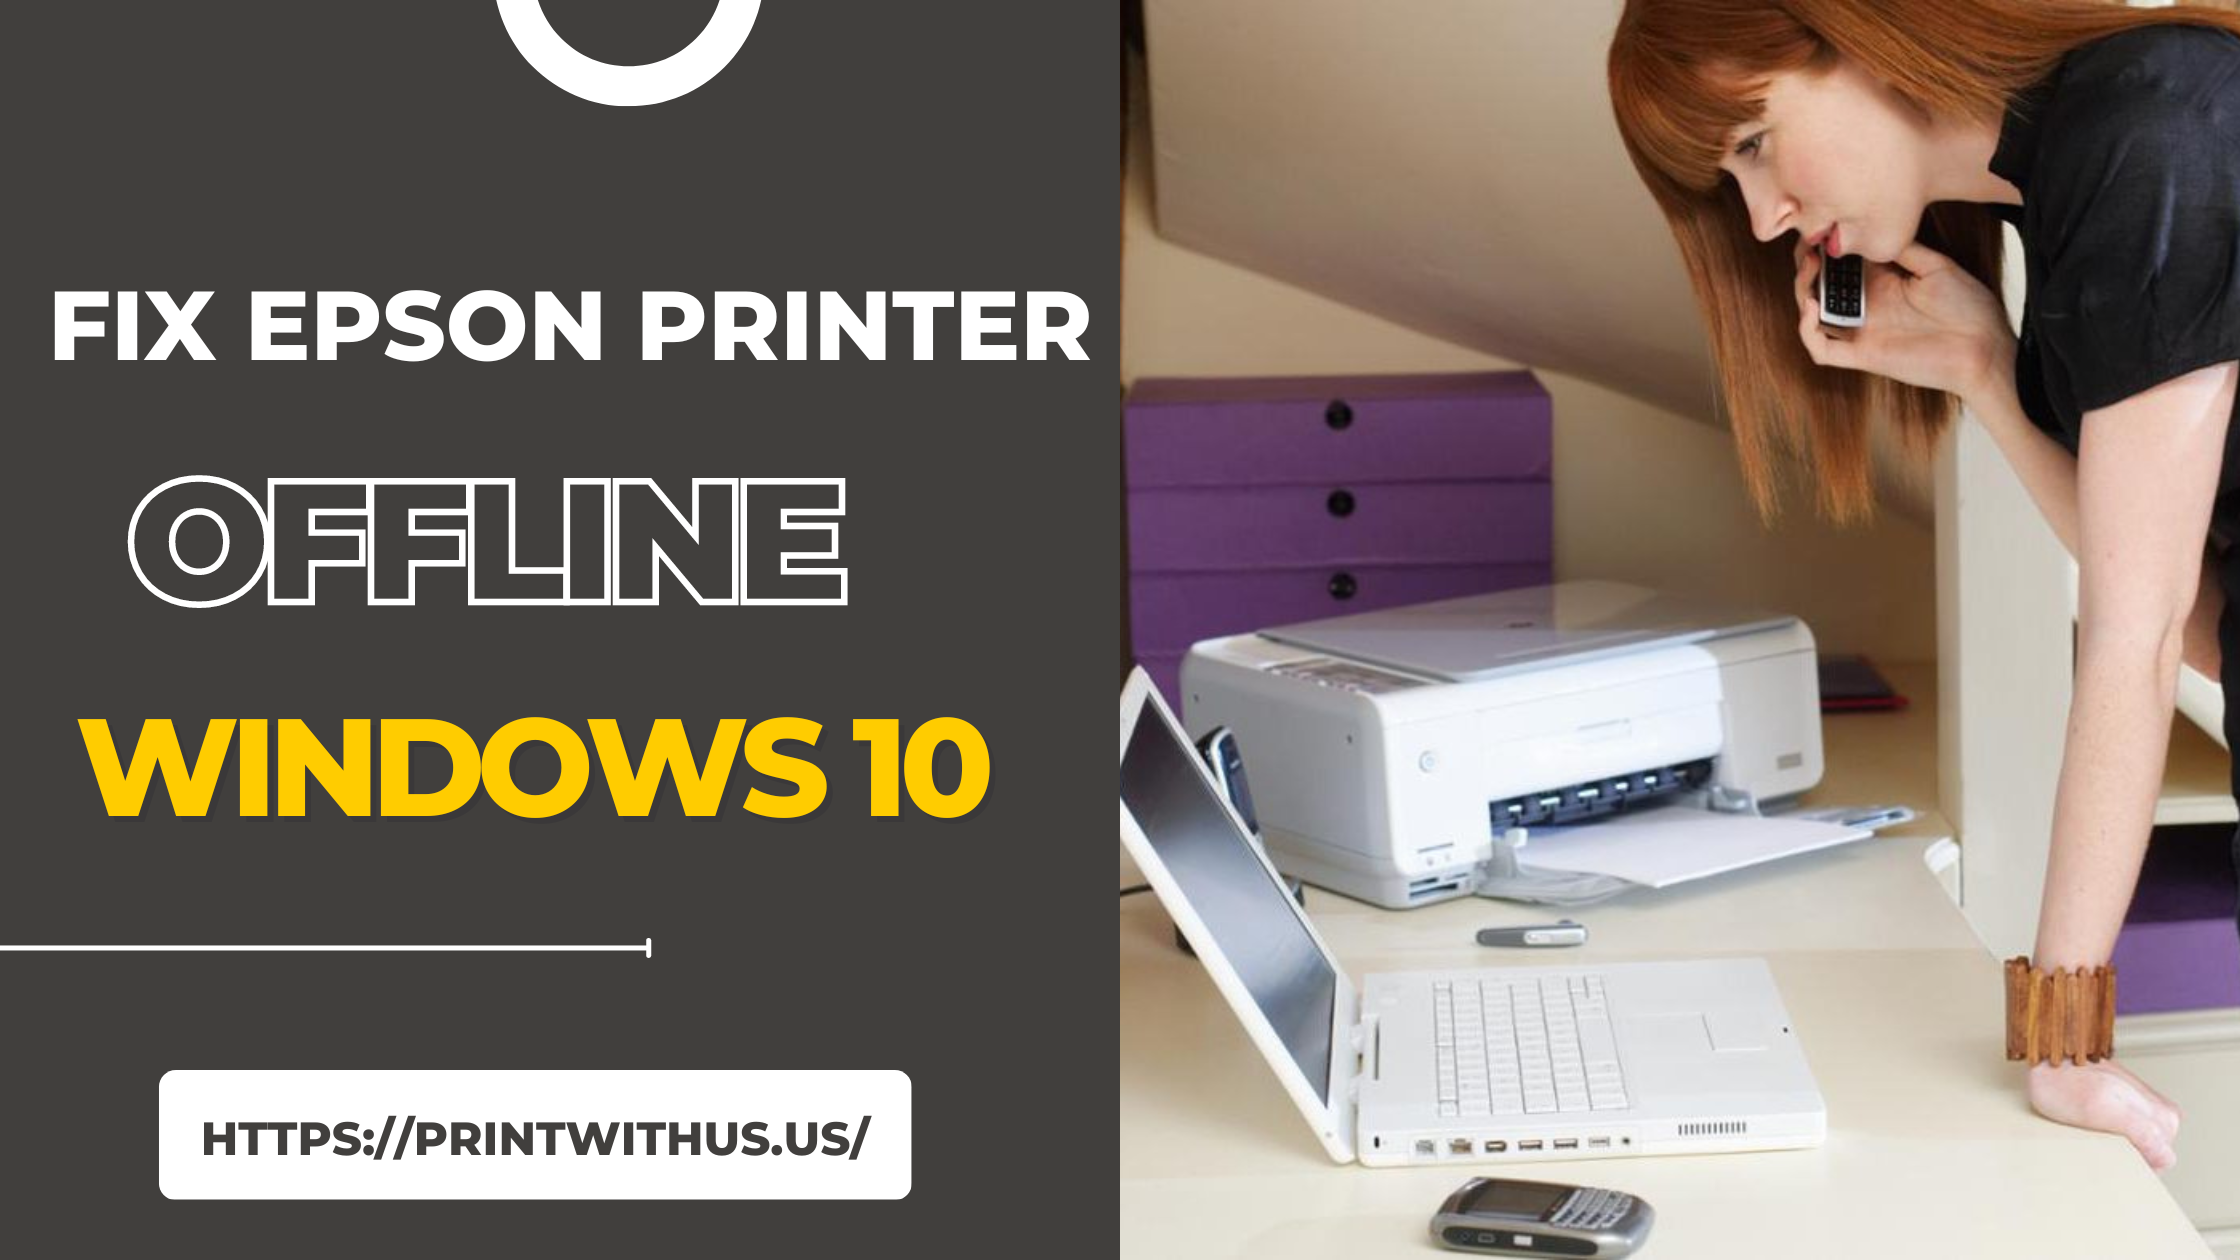
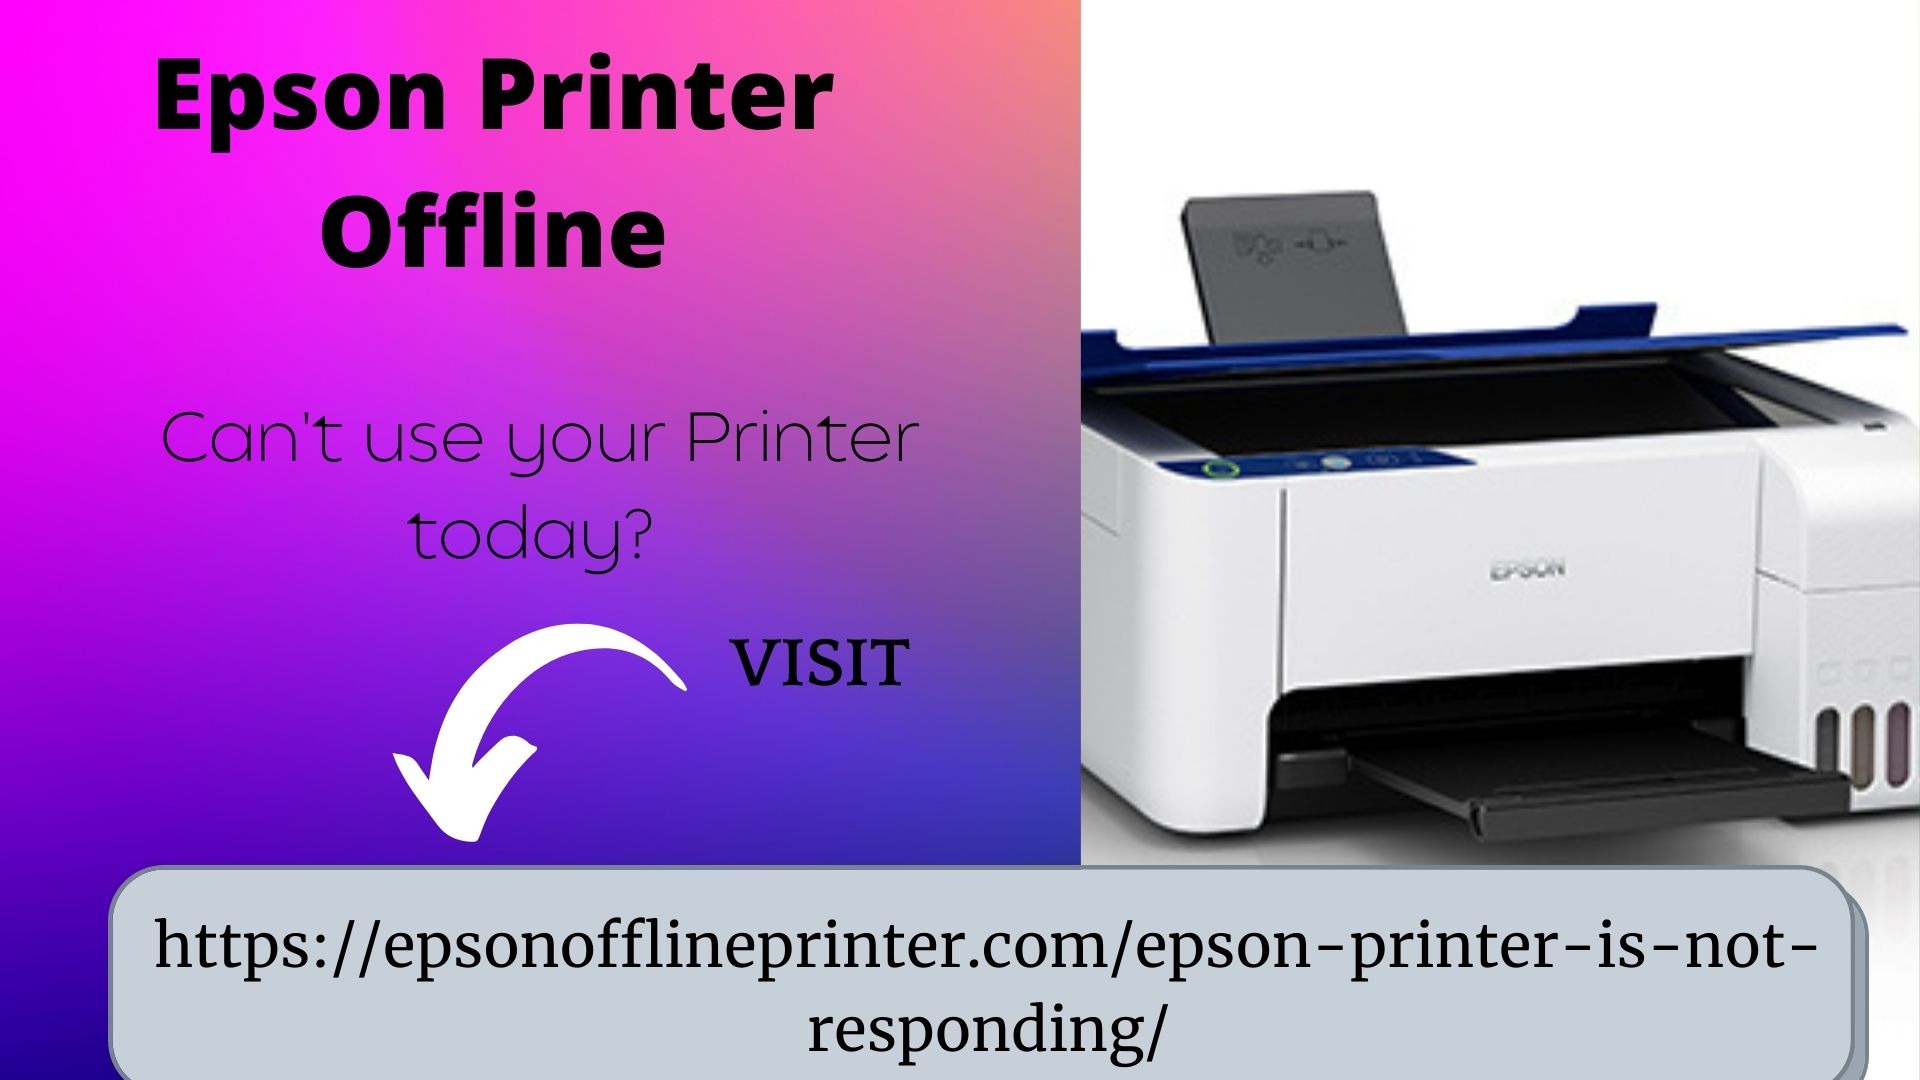
Now to the intention of first empire.Epson printer is offlineIf there is a lack of communication between your printer and the computer, during printing, your Epson printer is a new déconnecté et déjà de l’impression anything.
Unless you bring the printer back online, it will not print.
So, fix this problem with the provided solution.Solution: First click on the Control Panel and then go to the “Devices and Printers” section.
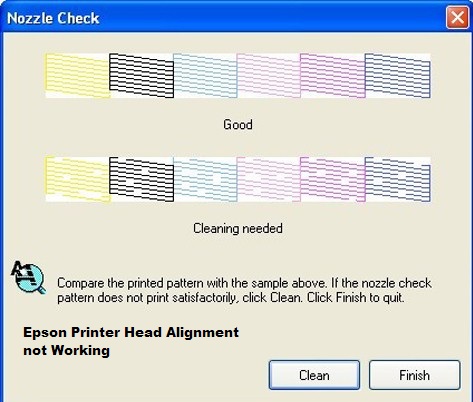
Follow Steps to Overcome Printhead Alignment Errors:Step 1 : Horizontal Banding –Run the Print Head Alignment UtilitySpot the printable side of the paper inside the sheet feederRun the Head Cleaning Utility to clear the obstructed ink spouts.Reset every one of the tweaked settings, select Text, and Image setting.The alternate path is to choose the Automatic settings under the Mode tab of the Print discourse box.Look at the light status of ink out marker.
Assuming it is blazing, you need to supplant the alluring ink cartridgeTry not to choose Minimize Margins and guarantee not to choose Maximize setting as the Printable Area.Ultimately, guarantee that the media type determination in the printer programming is viable with the sort of media stacked in your printer.Step 2 : Vertical Misalignment or Banding –Put the printable side of the paper into the sheet feeder.Run the Print Head Alignment Utility.Cripple (clear) the High-Speed Checkbox in the Advanced discourse box.Presently, run the Head Cleaning utility to clear stopping up of ink spouts.Recall the Media Type setting ought to be as per the kind of media stacked in the printer.Step 3 : Recover/Resolve Incorrect or Missing Colors –Assuming you are seeing some inaccurate or missing shadings, change the Ink setting in your printer programming to Color.
Moreover, change the shading settings in your application.
You can even run the Head Cleaning Utility to clean wrong tones.
Guarantee that you are not utilizing ink cartridge past its expiry printed over the cartridge bundle.Step 4 : Resolve Issues Due to Blurry Printouts –To dispose of hazy printouts you can utilize the fitting driver for your printer.
Guarantee that you use Epson well disposed paper and consistently place your printer on a level surface.