


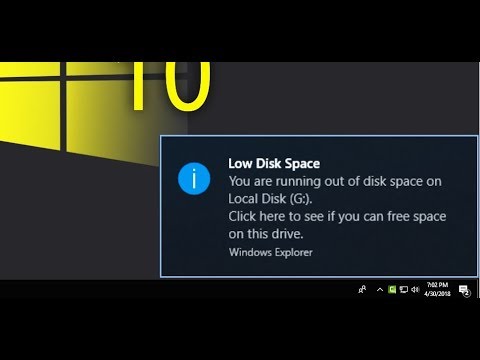
Want to free up drive space on your system? Don’t worry; we have the solution to your question. Low Disk space, especially on “E” Drive, is not the matter to be ignored. Users reported several issues related to low disk space notification regarding drive “E.” such type of notification usually appears on desktop view or when we try to launch recovery drive on the respective system. It may appear due to various reasons such as the drive is completely full, and thus you can’t use this storage section to keep or store more files.
Read Full Article Here - How to Fix Low Disk Space on E Drive on Windows 10

It is ideal to clean junk from your Windows 10 system from time to time for better and smooth performance.
Several users still haven’t learned how to clean the system properly.
Windows installation often builds junk and cache that requires space.
Excessive junk results in wasting of resources and crashing of the system and needs to be cleared from time to time.
Here is a step by step guide on cleaning your Windows 10 system to boost its performance.Source : http://2norton.com/step-by-step-guide-for-cleaning-windows-10/Deleting Large FilesIt is amongst the basic steps to perform to clean your Windows 10 system.
There are several ways available to eliminate bloatware from your PC:By using PowershellBy uninstalling Windows 10 bloatware appsBy deleting Windows 10 bloatware with DISMBy using hide apps command “Remove-AppxPackage”Eliminating Large ProgramsLarge programs often result in crashing and slowing down of the system.
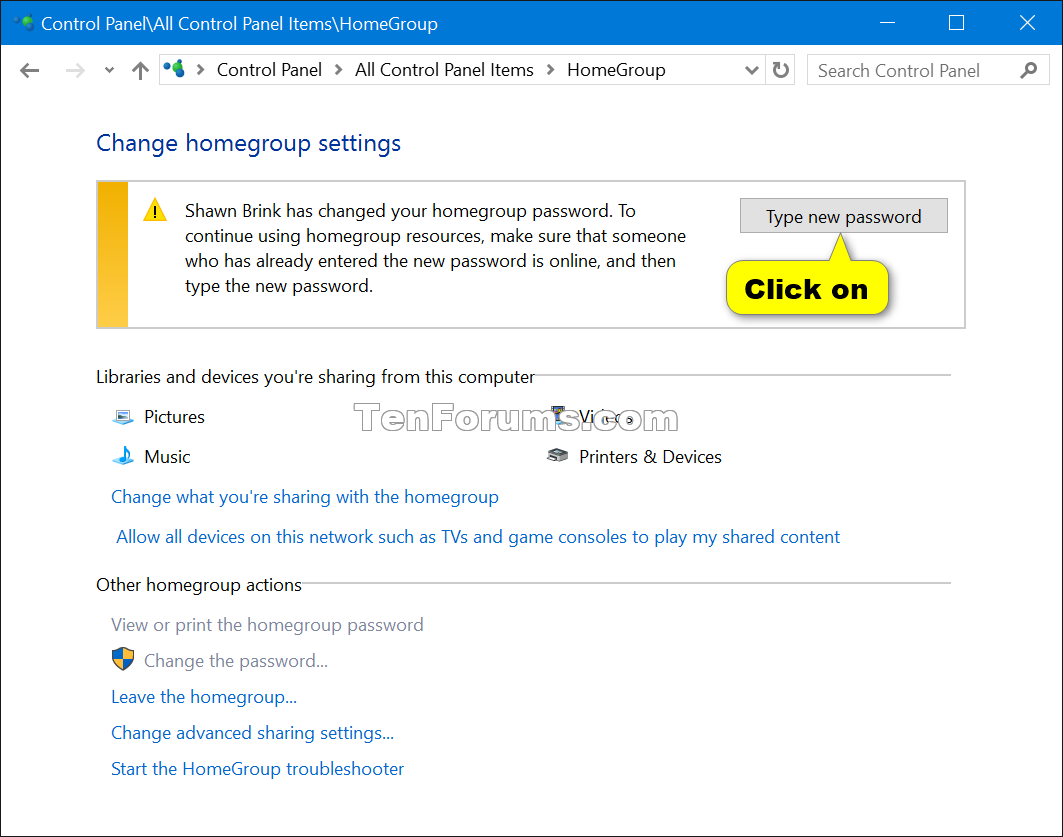
Many users are facing issues while changing or retrieving the HomeGroup password to use it on their local network.
Most of the users are trying to place the new system to the HomeGroup, or they try to remove the current system.
If you want to change HomeGroup password in Windows 10, then go through the instructions listed below.Steps to Change HomeGroup Password in Windows 10• Click on the Windows and R keys together.• Now, you will get the Run pop-up box on the screen.• Enter “control” in the search bar.• Click on the Enter option.• It will launch the classic Control Panel menu.• Press on the HomeGroup option in the Control Panel menu.• Start using the search bar to get the option in case you are not able to find it.• In the HomeGroup settings tab, press on the Change the password option.• After getting the Change your HomeGroup password menu, press on the Change the password option.• Enter the HomeGroup password.• Press on the symbol linked with the checkbox.• Press on the Enter option.• Press on the Next option,Steps to Retrieve HomeGroup password in Windows 10 through File Explorer• Go to the File Explorer.• You need to right-click on the HomeGroup.• Press on the View the HomeGroup password option.• It is located on the right side of the panel.• Now, a new window opens on the desktop where you will get the HomeGroup password.• It is located in the yellow checkbox.Steps to Retrieve HomeGroup password in Windows 10 through HomeGroup Ribbon• Go to the File Explorer menu.• Start using the left side of the menu list.• Press on the HomeGroup option to choose it.• Click on the ribbon bar.• It is located on the upper side of the screen.• Press on the HomeGroup option by going to the ribbon bar.• It is given on the upper side of the screen.• Press on the View option.• It will open the display where you can change the HomeGroup password.• Now, you will get the HomeGroup password in the yellow box.Steps to View HomeGroup Password Through Control Panel• Click on the Windows and R keys together.• It will open the Run prompt box.• Enter the “Control” in the search bar.• Click on the Enter option.• It will launch the classic Control Panel menu.• In the Control Panel, press on the HomeGroup option.• In the HomeGroup window, press on the View or print the HomeGroup password option.• It will open the menu where you will get the HomeGroup password.• It is located in the yellow checkbox.source url:- http://ww-norton.com/how-to-change-homegroup-password-in-windows-10/Ava Williams is a Norton product expert and has been working in the technology industry since 2002.
As a technical expert, Ava has written technical blogs, manuals, white papers, and reviews for many websites such as norton.com/setup.
PowerShell command is designed for Windows 10 that used to manage scripts and commands.
It can also use to change custom settings and do automatic tasks.
It is an extremely capable command-line interface that gives you an extensive tool and offers to get more control and flexibility on special scripting.The script can be considered the group of commands that are stored in a text format; this command only understands by the PowerShell that can perform multiple actions and separately.
PowerShell command has a quick power task that manages the Linux, Windows, and macOS operating system.
It can manage all your commands in your computers and access your data.
It can access registry, certificate as well as all the files storage in your system.Creating Script via NotepadLaunch Start.Find the NotepadTap on the first result to start the application.Paste your script or create a new script in the given text field.Tap on “”Choose “Save As.”Enter the File title like — the second script.ps2.Tap the Save icon.Creating a Script With the Integrated Scripting EnvironmentYou can also use PowerShell ISE to identify your scripts in Microsoft windows 10.

Changing the PDF viewer in Windows 10 direct from the PDF fileIt is an easy method if the PDF reader you want to use as default is already installed in your computer.
You can also use the Search to find PDF files quickly.2.
Right-click on the document and go to ‘Open with’ in the menu.
If still doesn’t display, use another method given below.3.
Click on ‘Choose another app’ in the context menu.
Click ‘OK.’It will open the selected PDF document in your selected app as well as set it as the default PDF viewer.
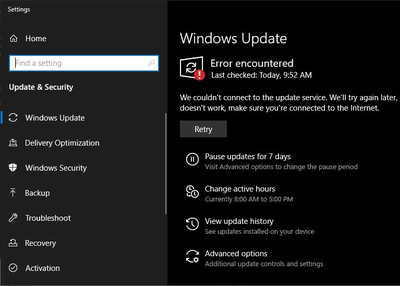
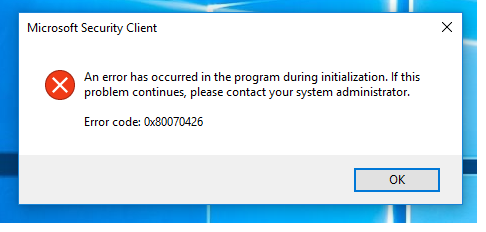
There often occurs an error with code 0xc8000247 on Windows software that prevents users from installing any new update with the Windows update component.
There are reports by users that show that error only occurs in installing certain updates.
On the other hand, the error mostly occurs on Windows 7 t. So if you face the same error on your Windows PC or laptop, then you have come to the right place.
Go through the methods below and fix this 0x8000247 error on your Windows system.
And to run this troubleshooter, follow the steps listed below:
Press Windows Key + R to open up the Run dialog box.
Among the best part of going to a restaurant or a movie hall is getting a public Wi-Fi access.
But sometimes even after connecting to the Wi-Fi, the sign-in page does not get displayed.
To know how to get back the public Wi-Fi sign-in page, you need to go through this blog carefully.Method 1: Restart the deviceFirstly, you need to disconnect from the network.Then, disable the Wi-Fi.After that, sign-out from the user account.Next, shut down the computer.Then, switch on the computer.After that, sign in to the user account.Next, enable the Wi-Fi.Then, connect to the network one more time.Lastly, check if the sign-in page is now able to display in the browser or not.
Method 2: Go for the another browserFirstly, visit the Start menu.Then, write ‘Control Panel’ into the search bar.
Method 3: Resetting the Network ConnectionFirstly, press the Wi-Fi symbol.
It will be placed on the left-hand side corner of the taskbar.Then, press on the Wi-Fi option to turn it off.After that, switch on the network connection one more time.Switch on the Wi-Fi symbol and the Wi-Fi option one more time.Next, open your browser.Then, try to go to ‘Google.com.’ The sign-in page will now be displayed.Method 4: Updating the Network Adapter DriverFirstly, hold down the combination of Windows symbol+R on your keyboard.Then, write ‘devmgmt.msc’ into the text box.After that, press on OK.Then, move downwards to Network Adapters.Next, press the arrow for expanding the option.After that, right-click on the network adapter.Then, press on the ‘Uninstall device.’ It will be situated in the context menu.Next, reboot the PC.