
Flutter is a powerful framework for building high-performance, cross-platform applications. If you’re looking to get started, understanding how to set up Flutter on your system is the first step. This guide will walk you through the entire process, ensuring you’re ready to begin your development journey.
Step 1: Check System Requirements
Before you download and install Flutter, ensure your system meets the necessary requirements:
Windows: Requires Windows 10 or later, with PowerShell 5.0 or higher and Git for Windows.
macOS: Needs macOS 10.14 or later, along with Xcode for iOS development.
Linux: Ensure you have a compatible distribution with bash, curl, git, and a 64-bit architecture.
Step 2: Download Flutter SDK
Visit Flutter’s official website to download the SDK. Select the version appropriate for your operating system. Once the download is complete, extract the compressed file to a location of your choice. It’s recommended to choose a permanent directory like C:\flutter for Windows or /usr/local/flutter for macOS and Linux.
Step 3: Update Environment Variables
To use Flutter commands globally, you need to update your system’s PATH variable. Add the Flutter ‘bin’ directory to your PATH:
Windows: Search for “Environment Variables” in the Control Panel and edit the PATH variable. macOS/Linux: Edit the .bashrc, .zshrc, or .bash_profile file and add the line: export PATH=“\$PATH:/path-to-flutter/bin” After updating the PATH, restart your terminal or command prompt for the changes to take effect.
Step 4: Run Flutter Doctor
Open your terminal or command prompt and type: flutter doctor This command checks your system for any missing dependencies. Flutter Doctor provides a detailed report highlighting what’s already installed and what needs attention. Based on the output, install any additional tools such as: Android Studio: For Android development, including the Android SDK. Xcode: Required for iOS development on macOS. Additional Dependencies: Depending on your platform, you may need specific libraries or tools.
Step 5: Install an IDE and Plugins
To streamline your development experience, install an Integrated Development Environment (IDE) like Visual Studio Code, Android Studio, or IntelliJ IDEA. After installation, add the Flutter and Dart plugins to your IDE. These plugins enable features such as syntax highlighting, code suggestions, and debugging.
Step 6: Set Up a Simulator or Emulator
Testing your Flutter app requires a virtual device:
Configure these tools within your IDE to enable easy testing directly from the development environment.
Step 7: Create a New Flutter Project With everything set up, you’re ready to create your first Flutter project. Run the following command: flutter create my_first_app Navigate to the project folder and open it in your IDE. Start the development server using: flutter run
Conclusion
Setting up Flutter on your system involves a series of straightforward steps, from downloading the SDK to configuring your IDE and emulator. By following this guide, you’ll be equipped to start building robust, cross-platform applications. Once your environment is ready, the possibilities with Flutter are endless. Get started today and bring your app ideas to life!


If you are using a technical device, then you might have faced technical issues at some point in your life.
Well, technical issues aren’t something that can be managed with the help of DIY techniques.
So, the question is who should you approach to handle your technical problems?Well, the IT support serviceproviders such as Technical Number is always there for your rescue.
You must hire IT, experts, to get the issue fixed with ease.
Here are the things you must consider when outsourcing IT services.Long-term Contracts is a Big NoWhen outsourcing an IT company, you should never agree to long-term contracts.
Hence, you should look for the providers who offer a one or two-month contract.Proactive ManagementThe professional IT Company will always help you to meet your long-term technical goals.


We know a majority of members want to understand How To Set Up A Tournament?
Refer to our user guide and learn about Tournament Setup in minutes.
We highly recommend you give your tournament a catchy name so it will be notice by your target audience and select the tournament mode as per your preference.

To know more about “Set up an account QuickBooks” procedure, just dial QuickBooks support helpline number 1800-396-1590 time 24-hours active.
The first thing to do to choose the “Settings” option and then click on the “Chart of Accounts” To create a new account, the user needs to click on the “’ New” option Proceed forward and click on the “Account Type” from the drop-down options
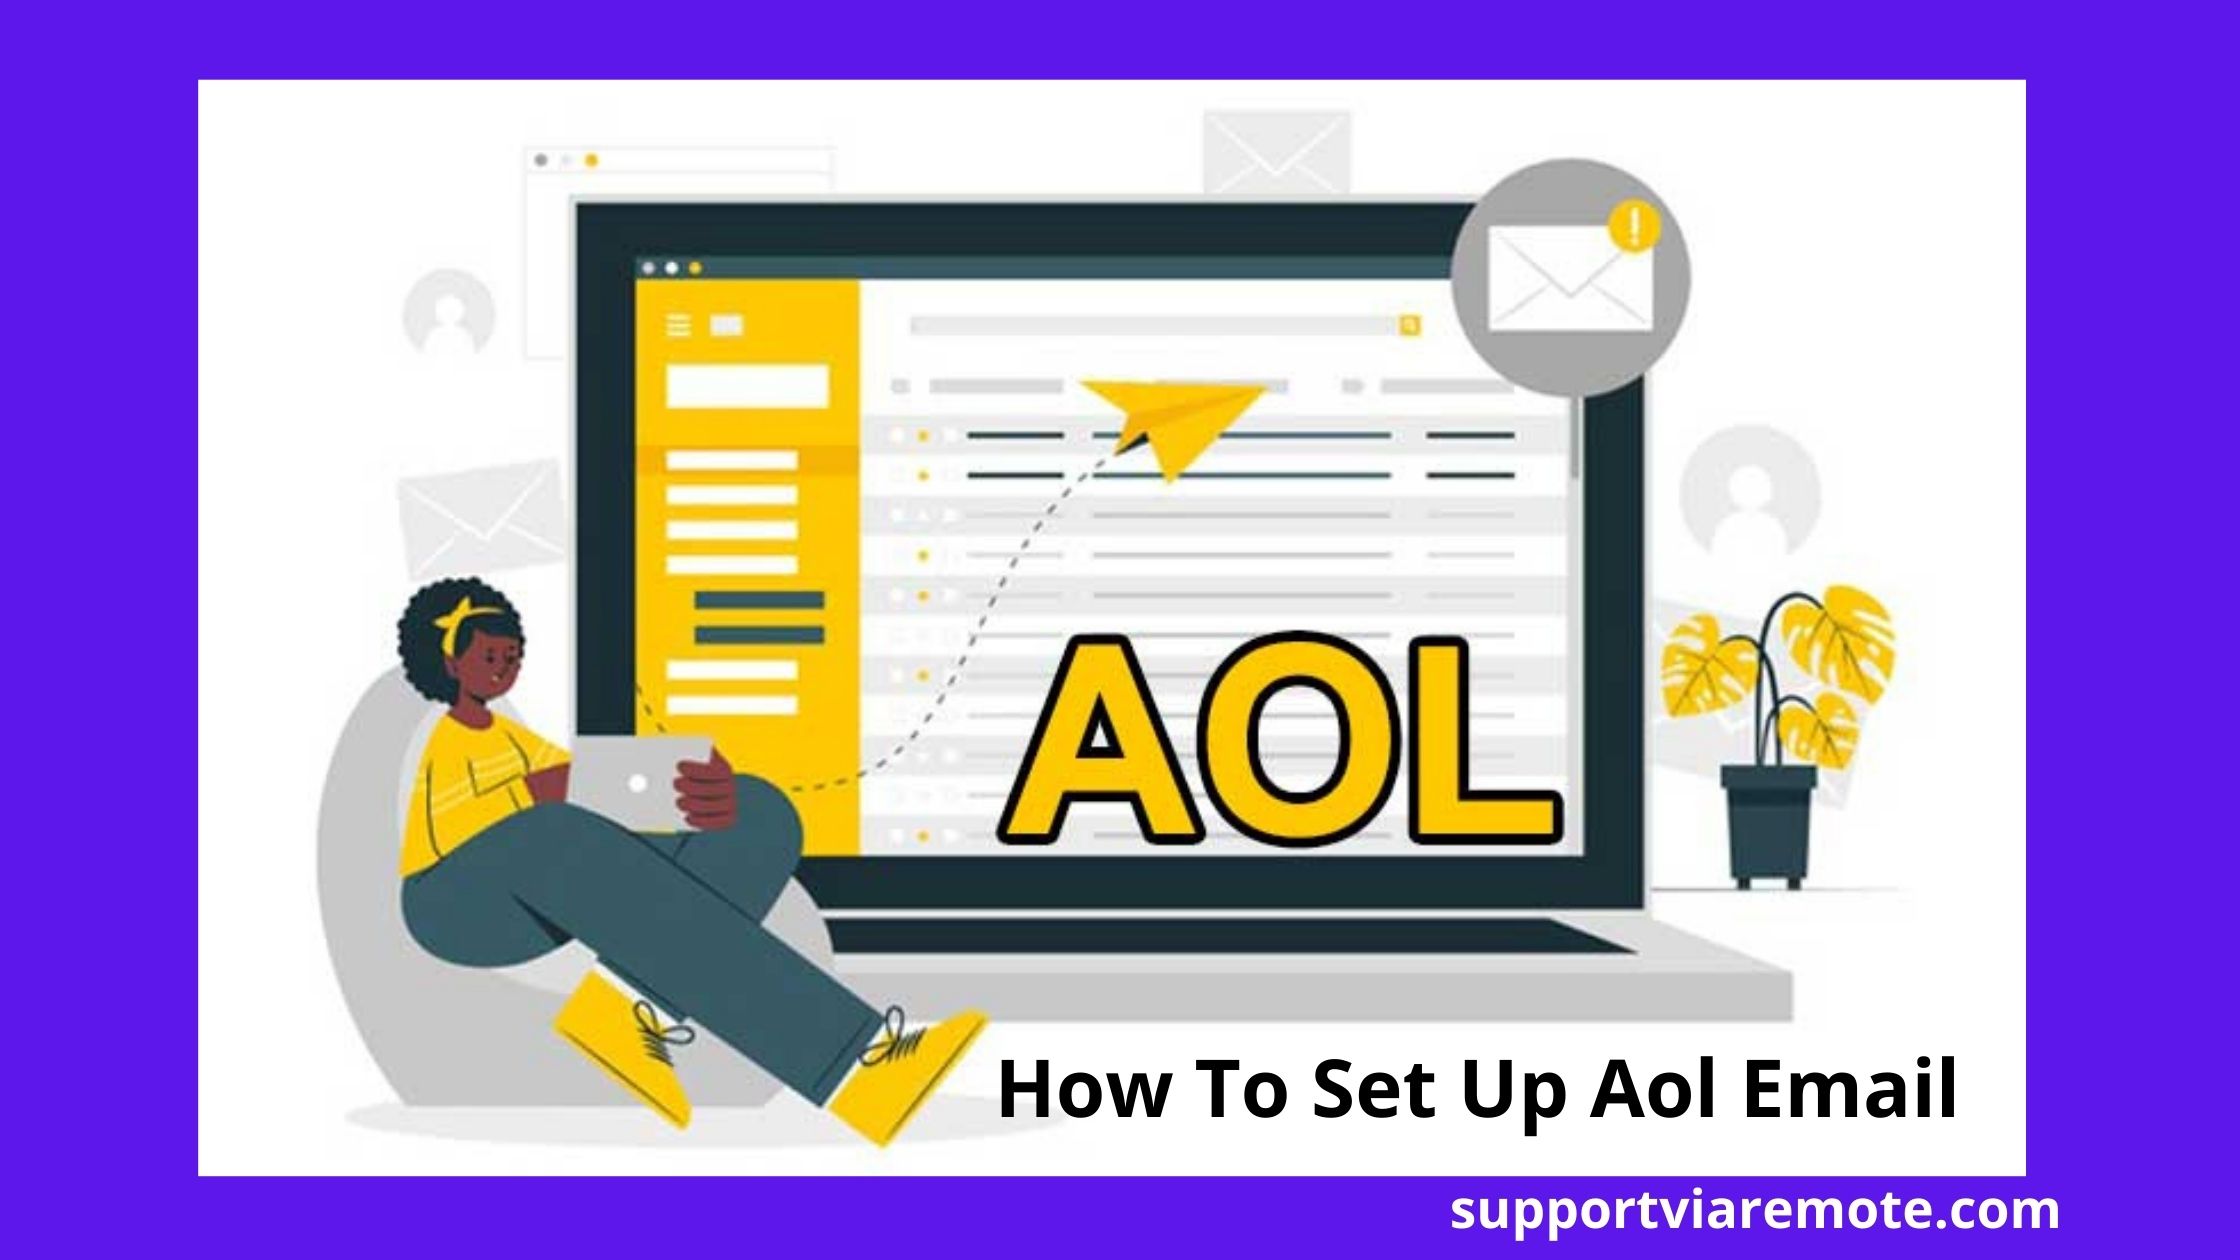
AOL Mail, like some other webmail administrations, can be accessed using Internet browsers such as Internet Explorer If you Facing Problem How to set up Aol Email so do not worry we will help you set Up Aol Email.